If you’re already growing your own food, saving seeds just makes sense.
It saves money, it reduces waste, and it means you’re not starting from scratch every season.
It’s also a lot simpler than people make it out to be. Once you understand the difference between dry seeds and wet seeds, the whole process becomes really manageable.
Why we should save seeds
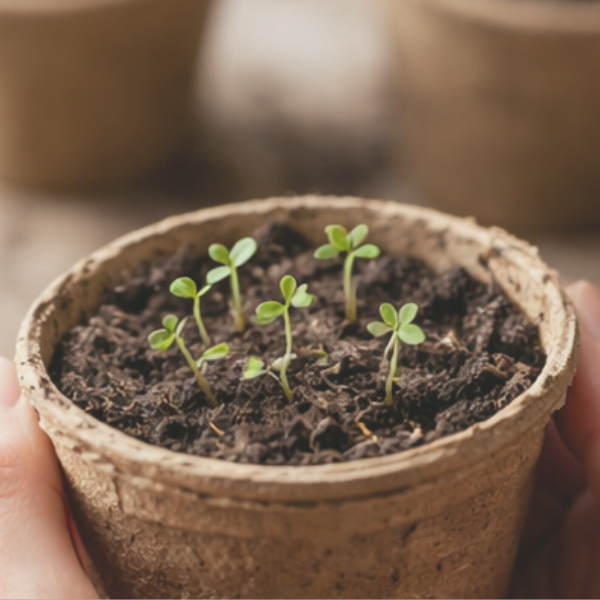
Saving seeds is one of those small things that adds up over time.
Instead of buying new seeds every season, you start working with what you already have. And the more you do it, the more your plants begin to suit your space — your soil, your weather, your way of growing.
It also helps you:
- Spend less money (which always helps)
- Be less reliant on shops
- Cut down on packaging
- Keep varieties going that you actually enjoy growing
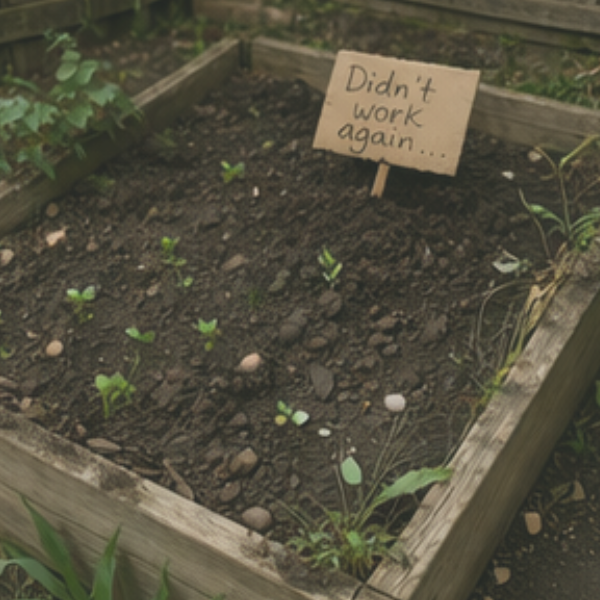
But more than that, it just slows things down a bit. You’re not rushing to replace everything — you’re learning to reuse and grow again.
The two types of seeds
Before you start, it helps to know this:
Most seeds fall into two groups:
- Dry seeds
- Wet seeds
Once you understand how each type works, seed saving becomes much easier.
How to save dry seeds
Dry seeds are the easiest to start with. These are seeds that dry naturally on the plant.
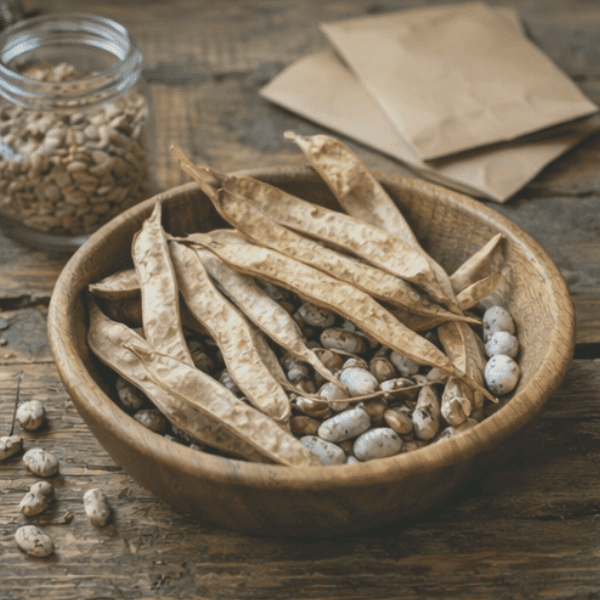
Examples:
Beans, peas, lettuce, spinach, and most herbs.
How to do it:
1. Let the plant go to seed: Instead of harvesting it, leave it to flower and form seeds. It might look a bit messy — that’s normal.
2. Wait until everything is dry: The pods or seed heads should be brown and dry. If they’re still green, it’s too early.
3. Harvest on a dry day: Try not to collect seeds when it’s damp or rainy.
4. Remove the seeds:
- Open pods (like beans and peas)
- Or rub seed heads between your hands (like herbs and lettuce)
5. Clean them up a bit: Take out the bigger bits of plant material. It doesn’t have to be perfect.
6. Store properly: Keep them in paper envelopes, jars, or any dry container.
Store them somewhere cool, dry, and out of direct sunlight. And label them — it saves a lot of guessing later.
How to save wet seeds
Wet seeds come from fleshy fruits and need a bit more effort, but it’s still very doable.
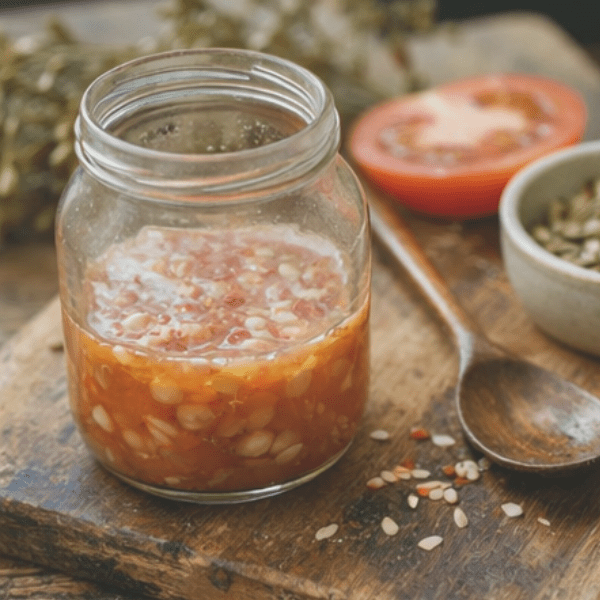
Examples:
Tomatoes, cucumbers, pumpkins, and squash.
How to do it:
1. Choose good fruit: Use fully ripe, healthy fruit from plants that did well.
2. Scoop out the seeds: Put them into a bowl or jar — it will look messy. and that’s fine.
3. Let them ferment (especially tomatoes): Add a bit of water and leave them for 2-3 days.
This helps remove the gel around the seeds and can reduce desease.
4. Rinse the seeds: After a few days, rinse them well. The good seeds usually sink, and the rest can be poured off.
5. Dry completely: Spread them out on paper towel, a plate, or a cloth.
Let them dry properly for a few days. I understand patience is hard but if they’re not fully dry, they can go moldy in storage.
6. Store: Same as dry seeds — cool, dry, and dark.
A few simple tips
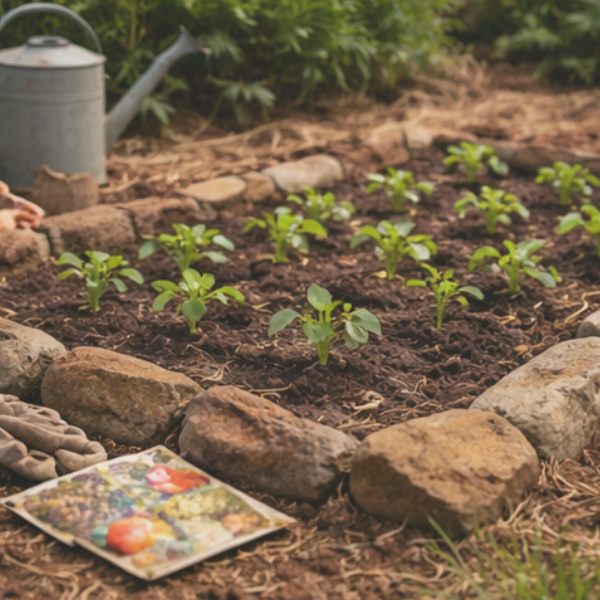
- Start with easy plants like beans or tomatoes
- Don’t try to save everything at once
- focus on what grows well in your space
- Keep it simple — it doesn’t need to be perfect
Final thought
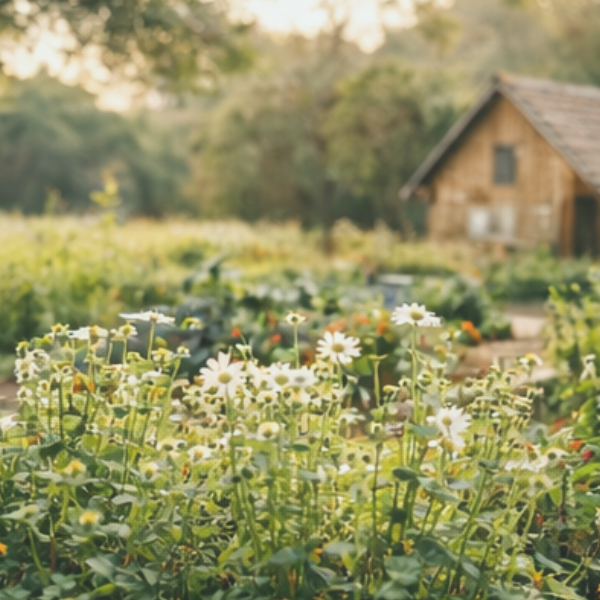
Saving seeds isn’t complicated, and it doesn’t need to be a big project. It’s just a simple habit that builds over time.
And the more you do it, the less you rely on buying new — and the more your garden starts to work with you, instead of you constantly trying to manage it.